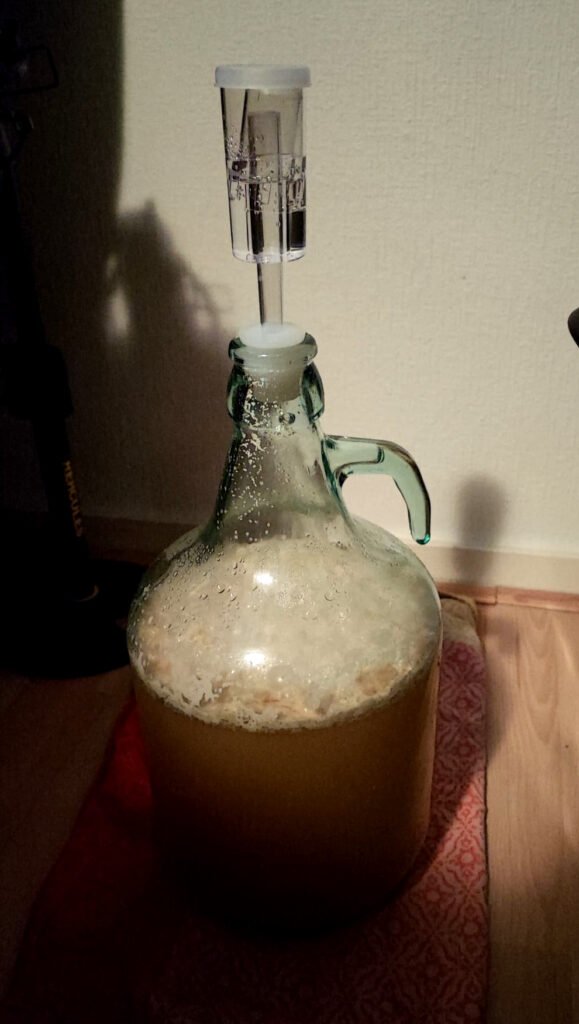
This year we wanted to do something different. We being my best friend and I. We wanted to try out a ready made brew kit. After some research we decided on a beer brew kit by Brewferm which we ordered from Brouwland.
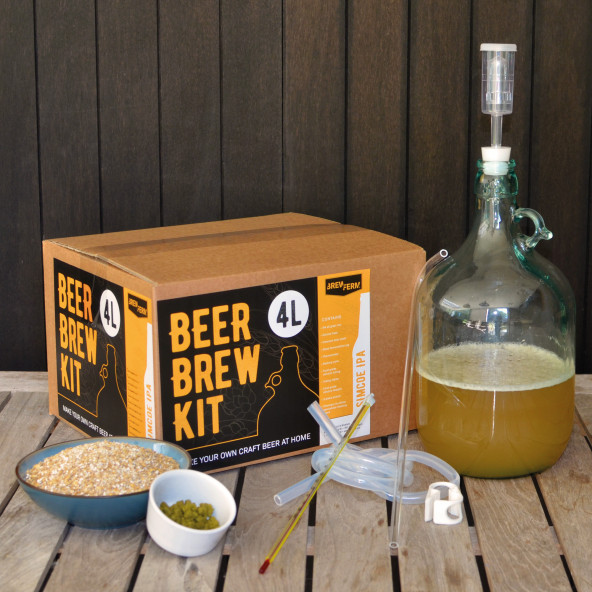
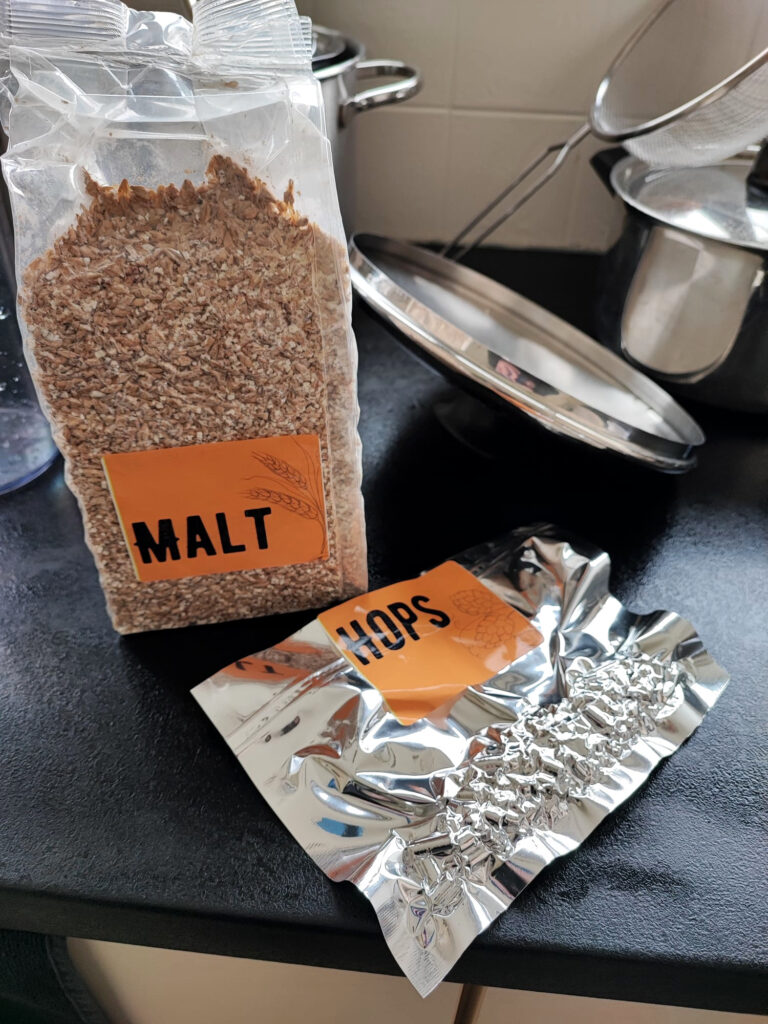
I wanted to see how brewing with a ready made kit would work. This particular kit comes with a glass yeast/fermentation bottle, which made me think of the time I made mead, a rubber cap and liquid seal, a thermometer, siphon tubes, cleaning stuff and the exact right amount and mixture of crushed malt, simcoe hops and yeast. It also comes with a precise recipe. You can order a second (bottling) box with bottles and all which you will need about three weeks later. The box says you don’t need any brewing knowledge nor experience, so off we go.
We began with reading the recipe a week beforehand, which is an advisable thing to do. For one, the list of things you need, states only the bare minimum, while when you read the recipe, you (hopefully) realise you need a lot more. Not just big things, like pans and all, but also the space and material to properly clean everything. You could probably do it with the minimum amount of things listed… No, I don’t think you could to be honest, I don’t really see how. For example, the recipe lists that you need one pot of at least 6 liters and it could come in handy, but it is not necessary, to have a second pot as well. I am not sure how you are supposed to lauter and sparge with only one pot though. It’s also advisable to be with at least two people, especially for the lautering and for pooring everything in the fermentation bottle in the end. And you need ice! We have an ice cube taxi in Eindhoven (yeah, really, yeah, that’s a thing), but if you live in a normal city, then you need to prepare ice for an icebath as well.
Other than that the recipe is quite complete. It is a lot of text though, so we made our own step by step table in Excell with everything we needed for every step and the time every step would take and hung it on the cupboard.
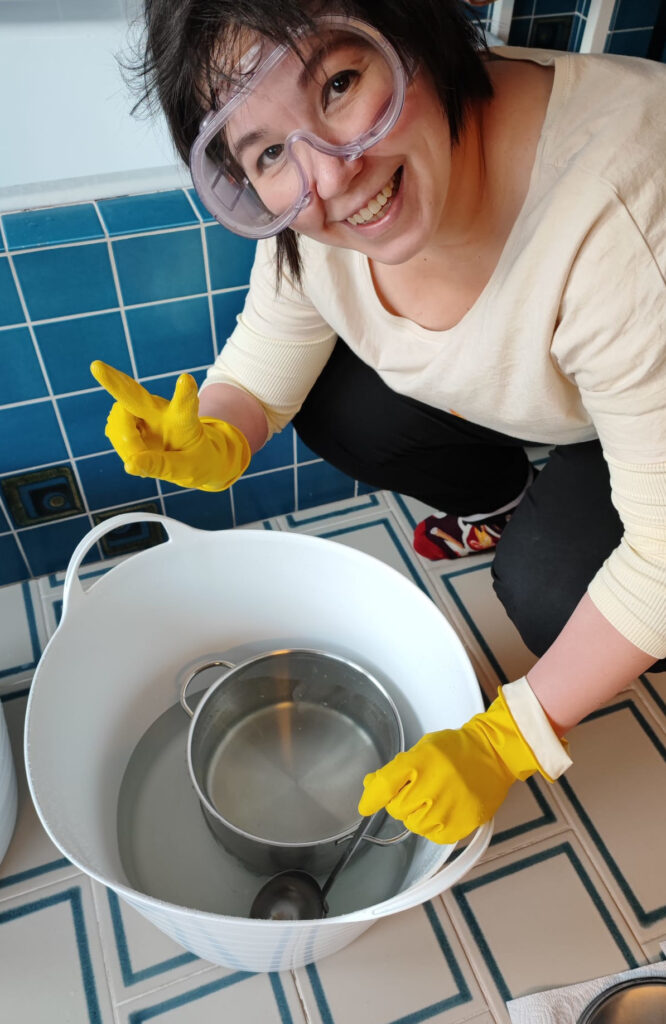
on 31 December we began at 10 in the morning with the cleaning of everything we needed until at least the cooking phase. Yeah, those are safety goggles. I am known to be a bit clumsy and I didn’t trust myself with the oxi. My best friend doesn’t know anything about brewing, so she relied on me (not advisable 😉 ). After an hour of cleaning we were finally ready to start the brewing. The malt was pre-crushed, so you can basically cook like you would with a recipe you find via foodgawker.
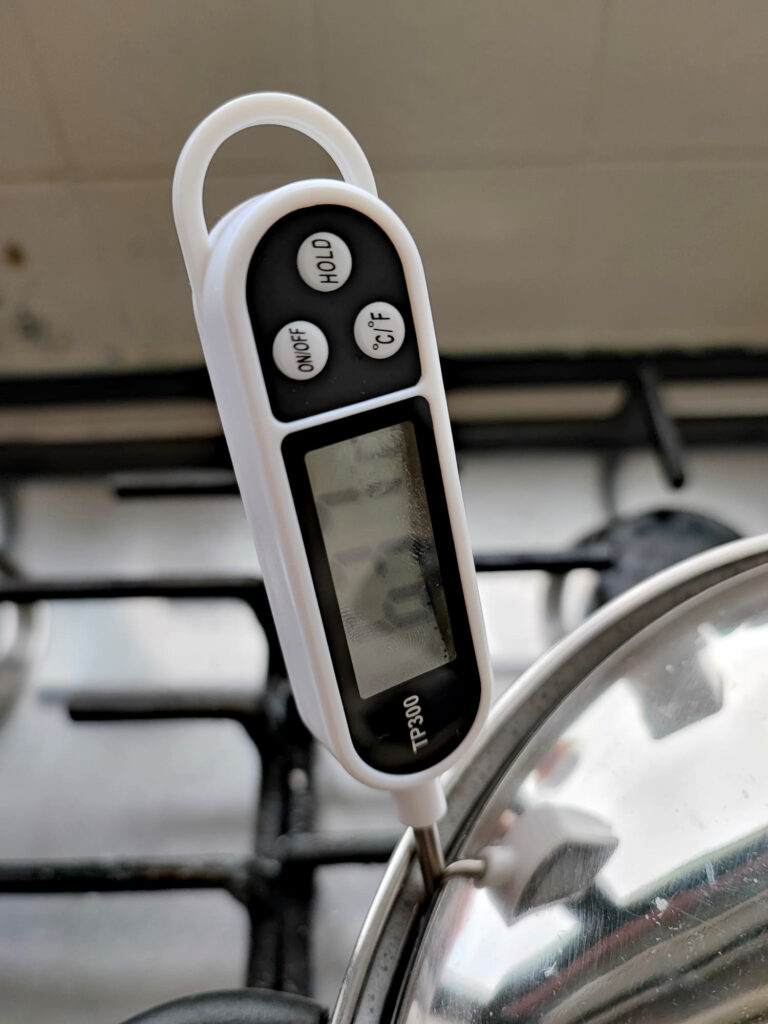
First step was the mashing. We heated the water to 70 degrees, like the recipe said, took it off the fire and added the malt while stirring it to a porridge like substance. With the use of the lid we had to keep it on 65 degrees Celsius for an hour, only carefully reheating when really needed. After that, we heated it to 80 degrees. The recipe doesn’t tell you why you do all this unfortunately. So if you were planning on using the kit to learn how to brew and why you do what you do, I recommend looking up extra information or reading books like How to Brew by John J. Palmer. Basically you try to convert the starches, which are long chains of carbohydrates, into sugars, which are smaller carbohydrates. The yeast likes sugars to eat, but is not a fan of the long starches. You can do that with enzymes, that act like scissors that cut up the long chains in smaller pieces. The malt has both the carbohydrates and two types of enzymes that can be used as scissors, but the enzymes are only active around certain temperatures; their ideal temperatures being around 58 and 68. They are both active at 63, maybe not their favourite temperatures, but still good enough, so it is easiest to keep it around 63 if you are homebrewing small amounts. If you want to be sure that everything is converted you can use iodine to check if there are still starches in your porridge (please don’t poor the iodine directly into your mash 😉 ). At 78 degrees the enzymes stop working (which is called a mash-out).
We prepared a third pot in which we heated 3 litres of extra water to 80 degrees as well, so it would be around 75 for the sparging.
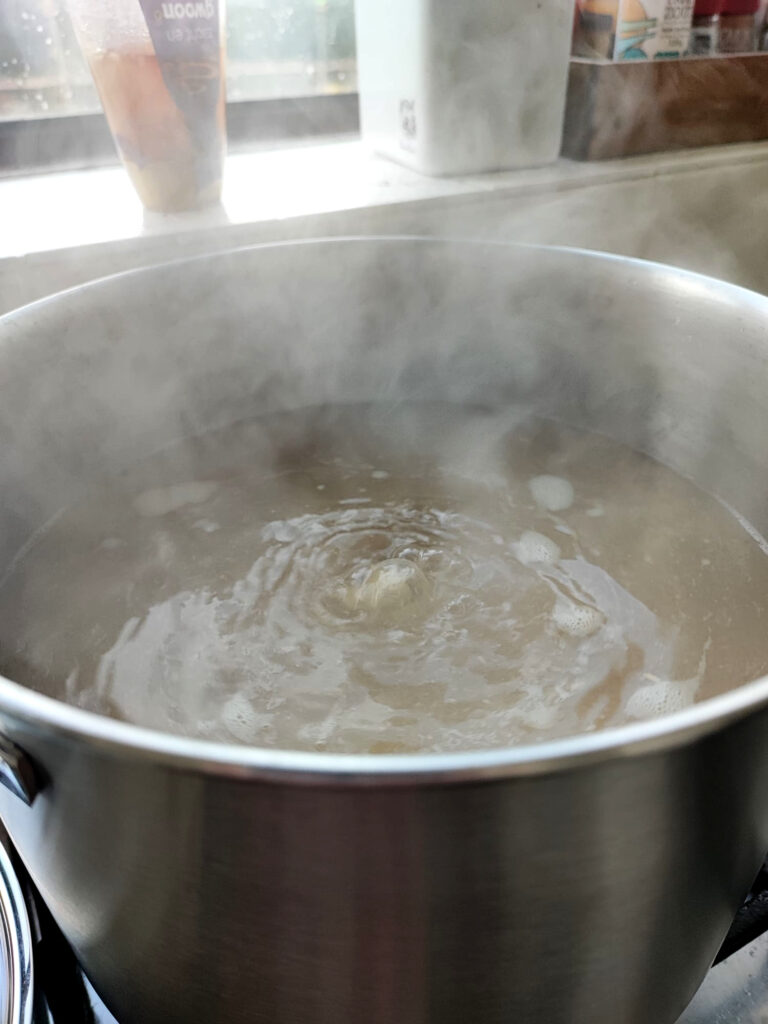
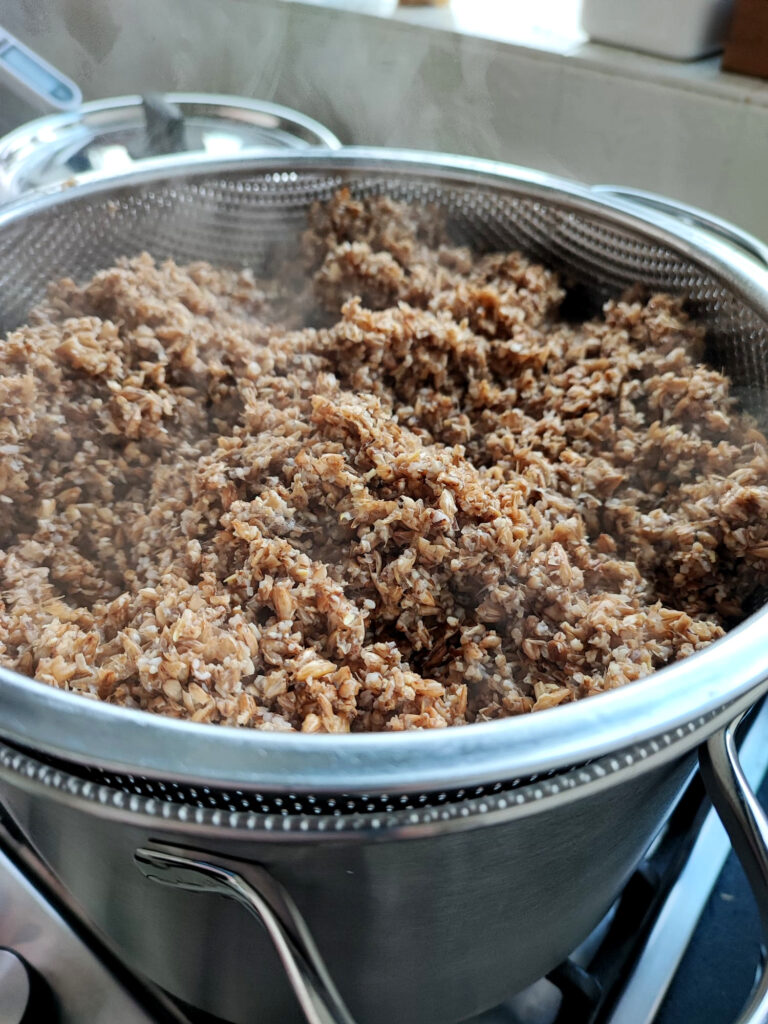
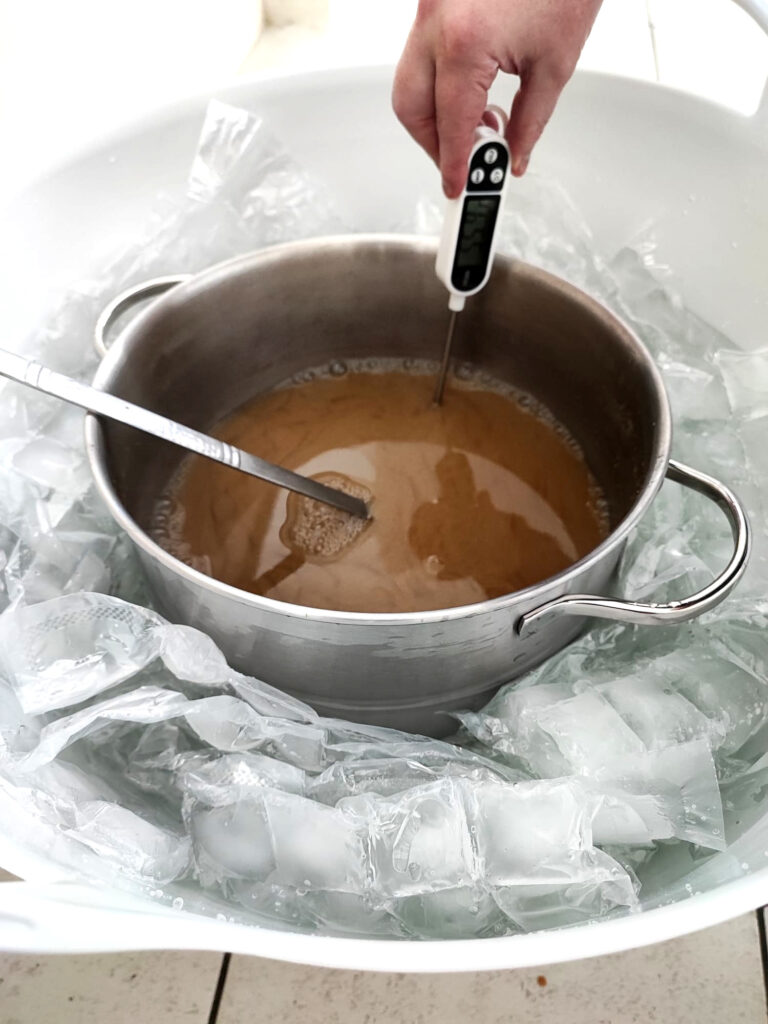
Next steps were lautering followed by cooking. Through a strainer we poured the porridge in the big pot to separate the wort (which you need for the beer) from the grains. The recipe doesn’t tell you to, but to get a clear wort, you can recirculate. After this we sparged the grains with the 3 extra litres of water. Sparging is rinsing the grains to extract as much of the sugars from the grain as possible, but preferably without extracting tannins from the husks. Palmer advises to sparge with more water than this, but we wanted to try this specific kit and followed the recipe. After that we brought the wort to a boil. As soon as it boiled, we added 1/3th of the hops and then we let it boil for an hour, which was a perfect time for lunch and for cleaning the rest of the items we would need for the next steps. 50 minutes into the boil we added the rest of the hops. The set came with simcoe hops which is a dual-purpose hop. The first 1/3 was for the bitterness, the rest for the aromas. In the next 10 minutes we quickly made an ice bath. Then we took the pot of the fire and quickly, very quickly brought the temperature back to 21 degrees. Infection wise this is probably the most crucial moment of the brewing process. The wort is the most vulnerable at that time, so you need to cool really, really fast.
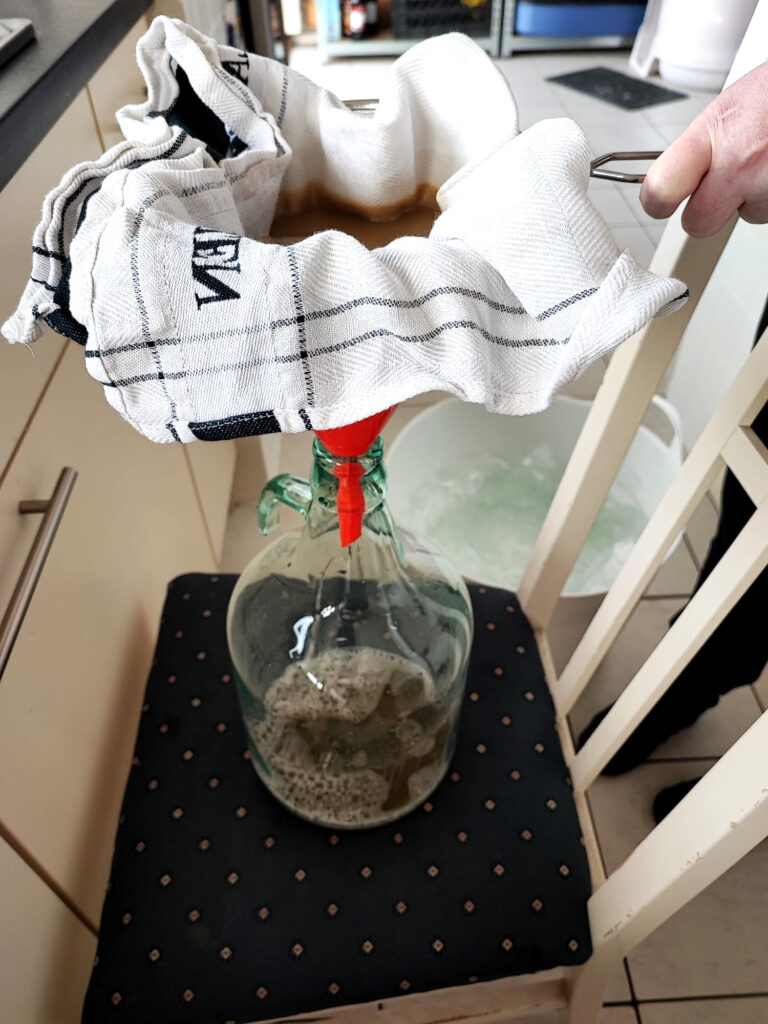
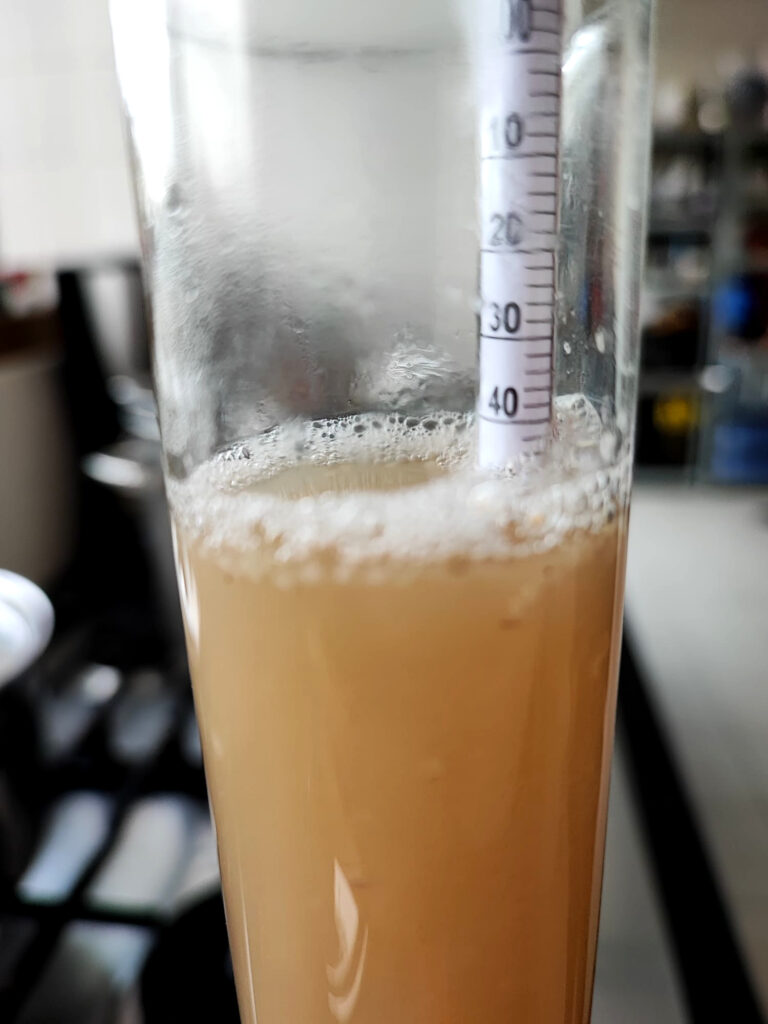
Then we filled the fermentation bottle through a funnel, a strainer and a boiled tea towel with the wort. It’s not in the recipe, but the rest of the wort I used to measure the sugar so we can say something about the alcohol percentage later on, which was lower than expected. I hoped for 1060 at least, but it was 1050, so it will be a low-alcoholic brew.
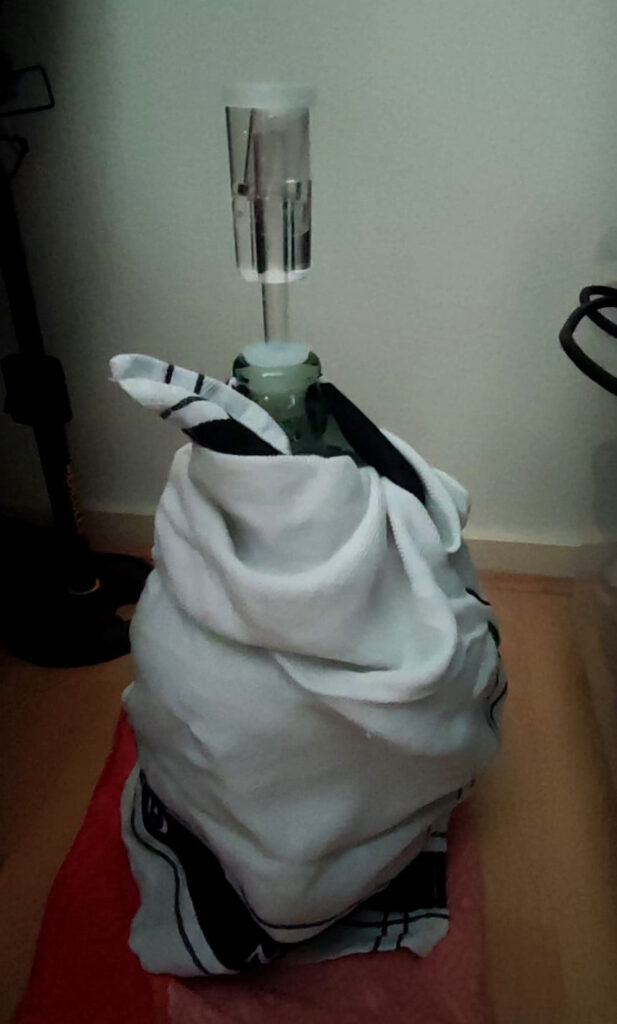
Anyway, as per recipe we added the yeast in the fermentation bottle, put on the stopper and water-filled airlock and placed the bottle cosy and dark in a corner in the spare room. Time for the yeast to eat some sugars and poop some alcohol and carbon dioxide.
the next days it started bubbling. Not as much as I hoped for, but it looks like it is fermenting well enough. Now, everything is quiet, so we will wait a fortnight and begin the bottling process.

